Setting up a Portable Streaming Camera using a SRT and a mobile phone
There are many ways to have a portable camera with Wireless HDMI Extenders and other devices, but most of us have a spare phone and a Raspberry Pi. Using this guide you can make a portable camera for your streaming setup using these off the shelf devices and a bit of software called SRT Player.
Configuring this we can create a simple SRT Listener device using the Raspberry Pi that can be accessed on your home WiFi network from a mobile phone with the Streaming Caller software to send High definition video to the Raspberry Pi using SRT.
This provides a reliable streaming setup for relatively cheaply. Follow this guide for information on configuring both the Raspberry Pi and the mobile phone.
What you will need
There are a few things needed to set this up, most of us will have a spare Raspberry Pi and an old phone that could be used here
- A Raspberry Pi (version 2 or above) with a suitable MicroSD Card and Power supply
- A USB microSD Card reader or suitable computer to read/write to the microSD card.
- A suitable Android or iPhone to install the streamer onto
- Something to send the HDMI output from the Raspberry Pi into.
- A Spare Network (Ethernet) port to plug the Raspberry Pi into
Setting up the Raspberry Pi
NOTE: As of writing, this is compatible with Raspberry Pi 2, 3 and 4. I suspect Pi 5’s are also compatible. However, I haven’t been able to test this.
Download the Raspberry Pi Image ‘SRTrpiPlayer.zip’ from: https://streamrus.com/player.html
Unzip the file, you should end up with a ‘.img’ file. This is called ‘SRTrpiPlayer_v1.5.3.img’
Using a suitable program to write the img file to the microSD card. This is the same process as any other Raspberry Pi image. I like to use Win32 Disk Imager https://win32diskimager.org/, but you could also use Pi imager or Rufus to write the image. I will be using Win32 Disk Imager in this guide.
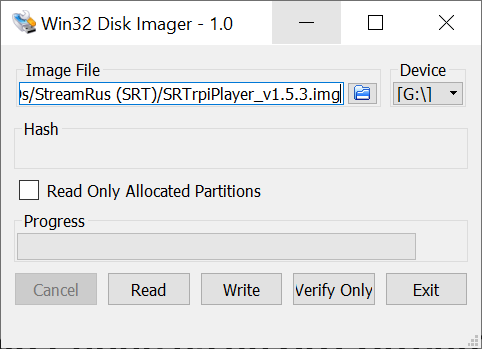
Insert the microSD card into your reader and plug in to the computer, then run Win32 Disk Imager.
Simply browse to the img file extracted earlier, and select the drive letter your microSD Card has been mounted on, on my computer this is G:\ drive, but this will highly likely be different for you.
WARNING: ALL Data on the MicroSD Card will be erased.
Once the correct Image File and Device is selected Press ‘Write’. This could take a couple of minutes depending on the speed of the microSD Card.
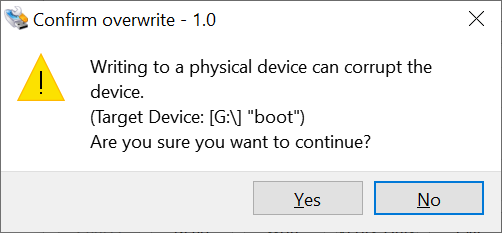
Once you click on write, you will receive the below message, this is the last warning before your microSD card is overwritten. Press ‘Yes’ to continue.
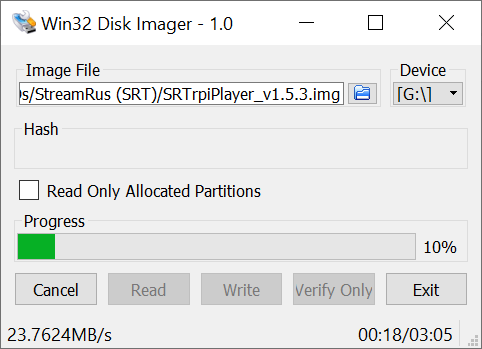
During the process, the progress, speed and estimated time is shown at the bottom of the window.
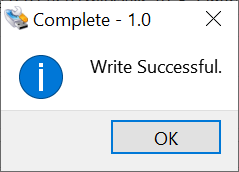
Once completed, Click OK, then unmount the microSD card (DO NOT just unplug the card reader as this may corrupt the card)
You can now insert the microSD card into your Raspberry Pi.
Boot and Setup of the SRT Player Pi
Plug in the HDMI Output and Ethernet into your Raspberry Pi, then the Power and turn on your Pi.
NOTE: The first boot may take around 50 seconds, so please be patient.
It will boot up with a black screen for a few seconds; unlike a normal Pi, this is silenced so that the bootup doesn’t accidentally display during a live stream or other event.
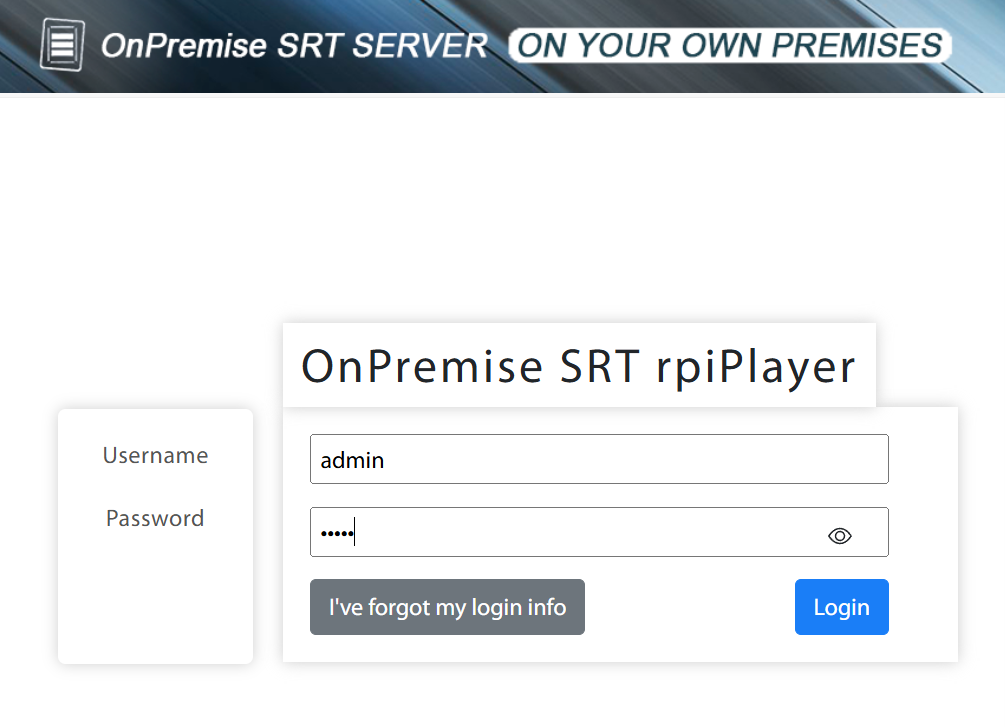
Find the IP Address of the Raspberry Pi from your Router or other device, and using your favourite browser simply browse to this IP Address, for example: http://192.168.1.102/
Login with the username and password admin/admin
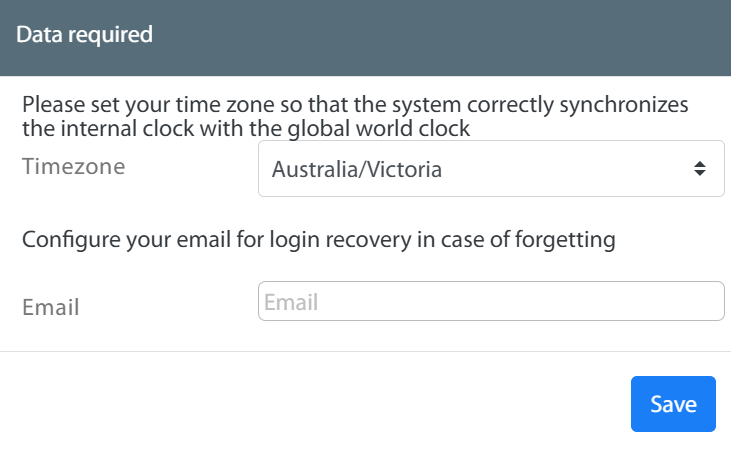
The first login will prompt you for the timezone and a recovery email. The recovery email doesn’t need to be correct, just re-write the microSD card if you forget your admin password.
The Timezone and hostname can be changed later in the Network Tab.
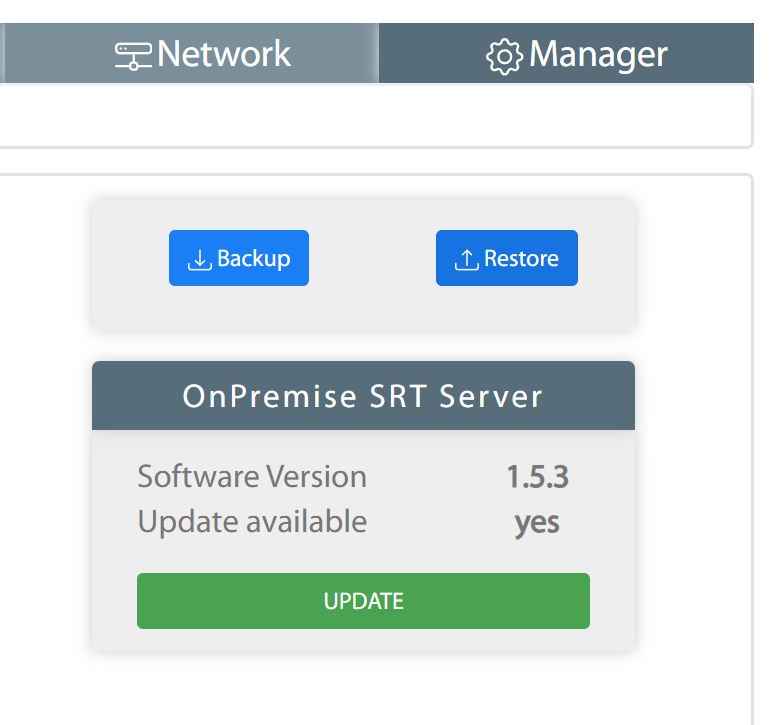
Step 1 – Perform Update
Even though the latest download was 1.5.3, there appears to be a 1.5.5 update.
Browse to the ‘Manager’ tab, and click on ‘UPDATE’ and follow the prompts.
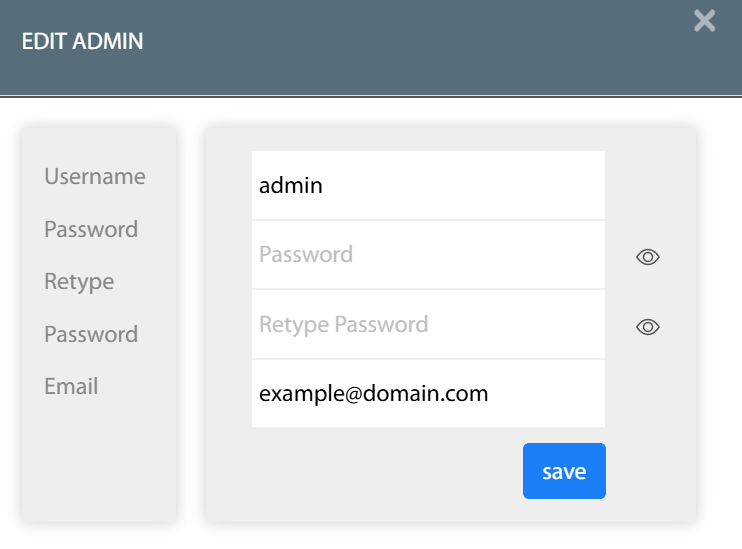
Step 2 – Change admin password
Whilst we are on the Manager page, click on EDIT ADMIN, and change the default admin password.
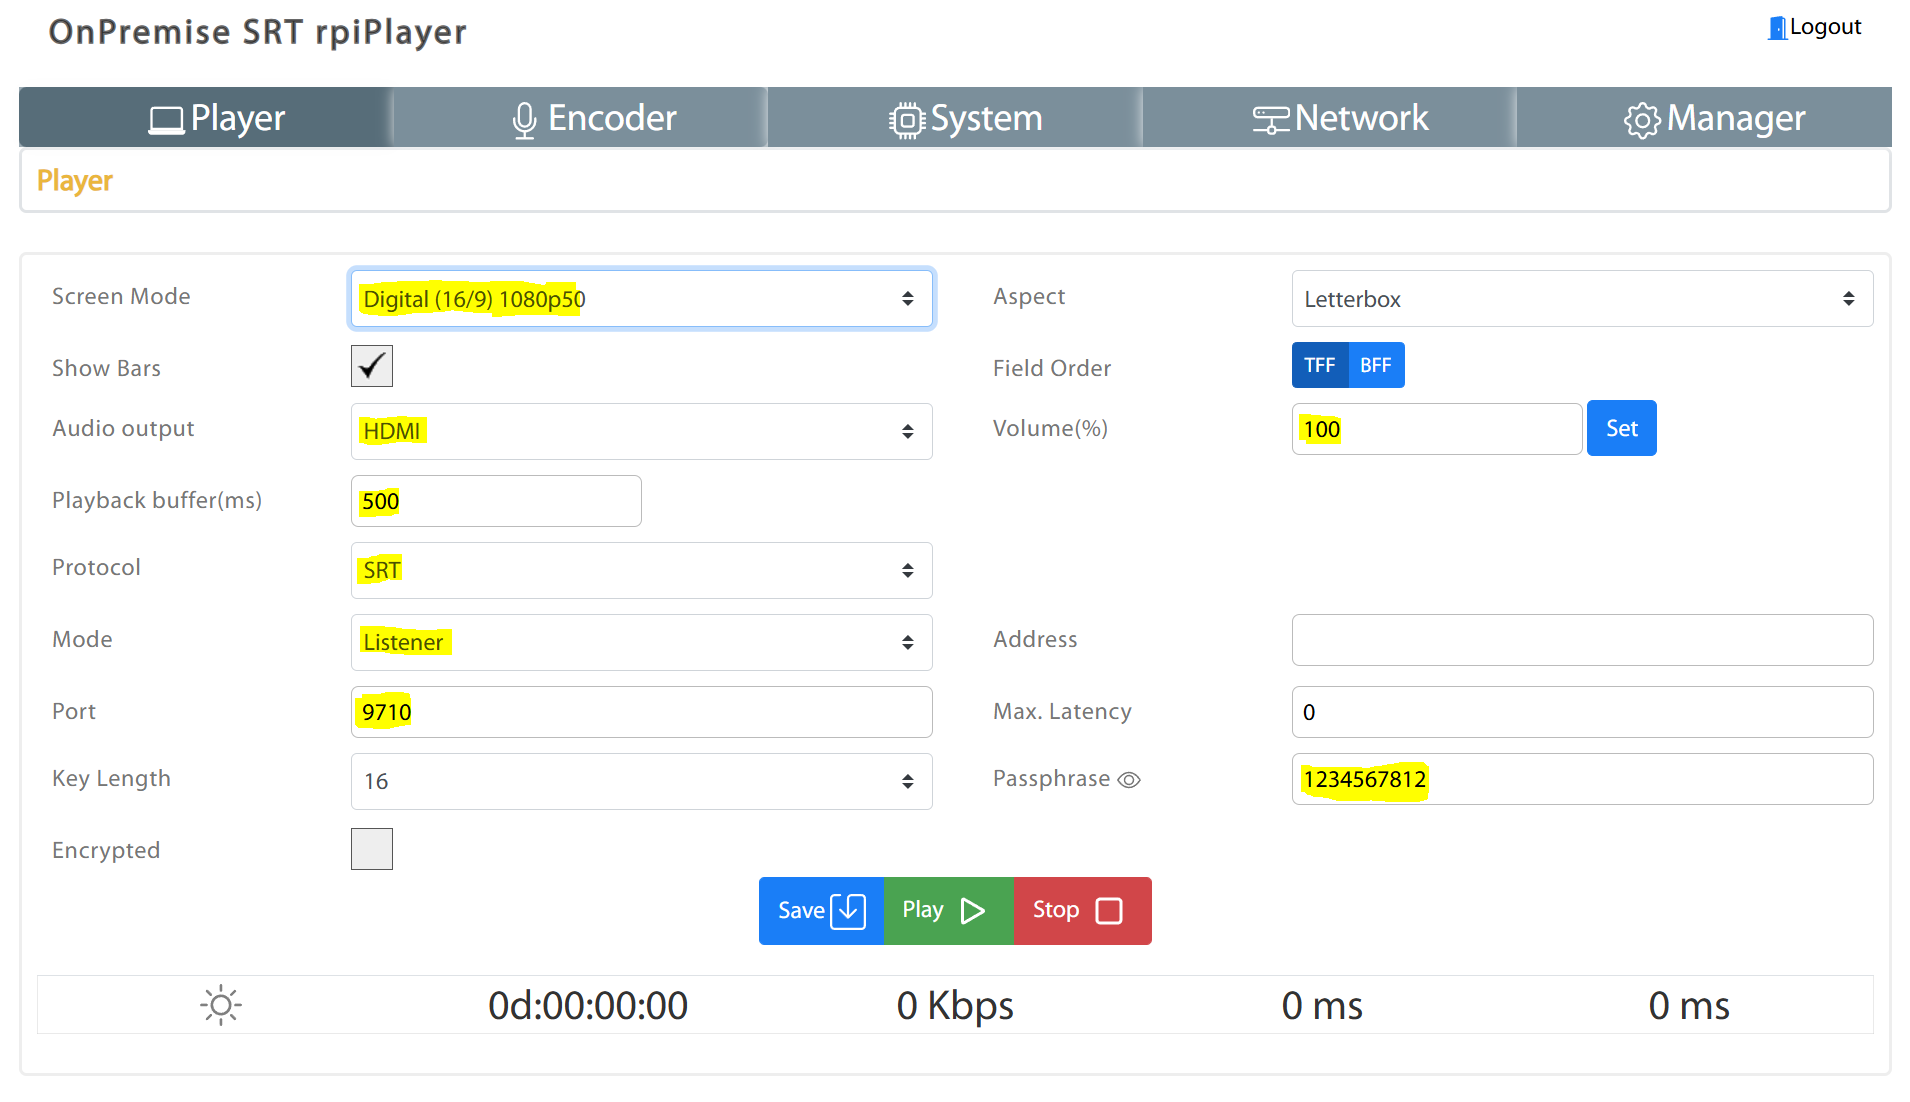
Step 3 – Setup as an SRT Listener
To Setup the SRT Player as a device to listen and wait for something to connect to it with a stream only requires a few settings. The most critical being those below to setup SRT.
- Playback buffer(ms): 500 (Use a high buffer for higher jitter links)
- Protocol: SRT
- Mode: Listener
- Port: 9710
- PassPhrase: ************
- Max Latency: 500
Optional
- Screen Mode: Set this to the Resolution settings you require.
- Show Bars: Either enable the default Color bars, or a black screen when no stream is being received.
- Audio output: Add audio to the HDMI Output or use the Raspberry Pi analog output.
- Volume: 100
NOTE: When changing any settings, you must click on Stop first, otherwise you will receive a warning.
When you have finished changing settings, click on ‘Save’, and then on ‘Play’ to enable the settings and listen for an SRT stream.
Example Settings:
Setting up your Android Phone as an SRT Streaming Camera
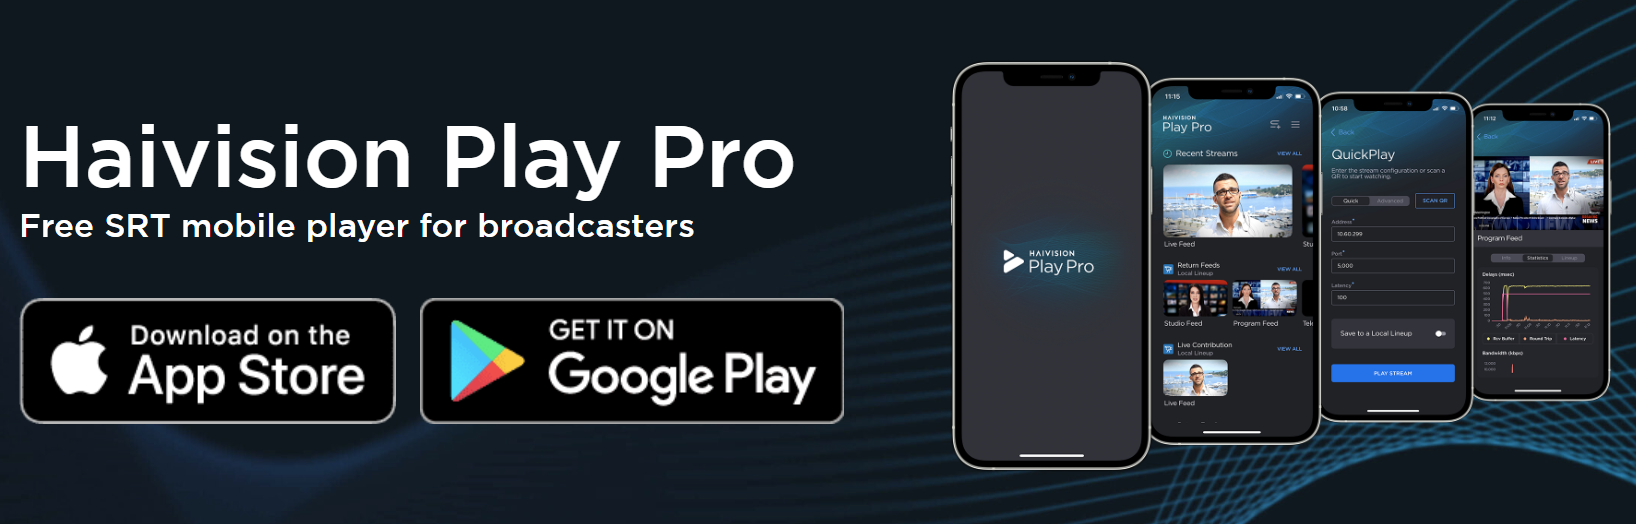
Install the Haivision Play Pro app on your device. See this page for links to bot hthe Google Play and Apple App Store: https://www.haivision.com/products/haivision-play-pro/
Once installed, you will need to create an account. This account will save your settings in the cloud, so if you are using multiple devices, or changing devices, you won’t lose your settings.
INFO: Unfortunately taking screen captures seems to be disabled, so I’m unable to add actual screen of settings, however I will talk you through it
Once you are logged in you will be at the grey home screen with 3 Options
- Go to the Browser
- Play an SRT Stream
- Configure your Services
Click on ‘Go to the Browser’, this is the only area we will need in the app, so get used to going into this screen.
In this screen, click on the menu in the top left corner, and select ‘Add or Modify’
Step 1 – Create a Service
This is something you will likely only need to do once, basically this is a group of streams. So if you have multiple sites, or want to split up your streams, you could create multiple services.
Click on the blue ‘ADD A SERVICE’ button down the bottom of the screen
Select ‘Set up a Local Lineup Chanel List’ and provide a suitable name, I just called mine ‘Local’ but call it whatever you would like, and select an icon if you wish.
Step 2 – Add Streaming Channels
In your new group screen, if you just completed Step 1 you will already be here. Click on the blue ‘ADD A CHANNEL’ button down the bottom.
Fill out the fields as follows:
- Channel Nickname:
- Description:
- Function: STREAM
- Video Bitrate: If you are on a local WiFi network, select 5000-8000Mbps to have a good quality, if you will be mobile, select a bandwidth suitable for your expected Internet connection.
- Audio Bitrate: 256kbps or as required, if you aren’t using audio, this could be lowered to reduce bandwidth.
- Resolution: HD-1080
- Frame Rate: 25 FPS
- Codec: H.264
- Protocol: SRT
- Mode: Caller
- Address:
- Port: 9710
- Local Port: 0
- Encryption: OFF (Not needed for local WiFi streaming)
- Stream ID: This is the PassPhrase used in your SRT Player setup
- Latency: 500 (This is adequete for a normal WiFi network)
Click on the Blue ‘SAVE’ button
Now to return to the ‘Browser’ screen click on the < in the top left twice. You should now see your Group name and channel you just created in the list.
Step 3 – Start a Stream
To start a stream go to the ‘Browser’ screen, then click on one of your channels.
You will now see a screen with your camera and a ‘PREVIEW’ button in the bottom right corner.
Click on this ‘PREVIEW’ button and it will change to ‘STREAMING’, you are now sending data to the SRT Player. Click STREAMING to stop streaming again.
Common Errors
Streaming doesn’t start on the SRT Player Check the settings, especially the IP Address and port and passphrase is correct.
Video is stretched I recommend keeping your device in landscape mode as you click on the Channel you want to use, sometimes it seems to get confused about the orientation
How do I check the streaming Bandwidth On the SRT Player under the ‘Player’ screen it shows the current bandwidth and stats for the currently playing stream.
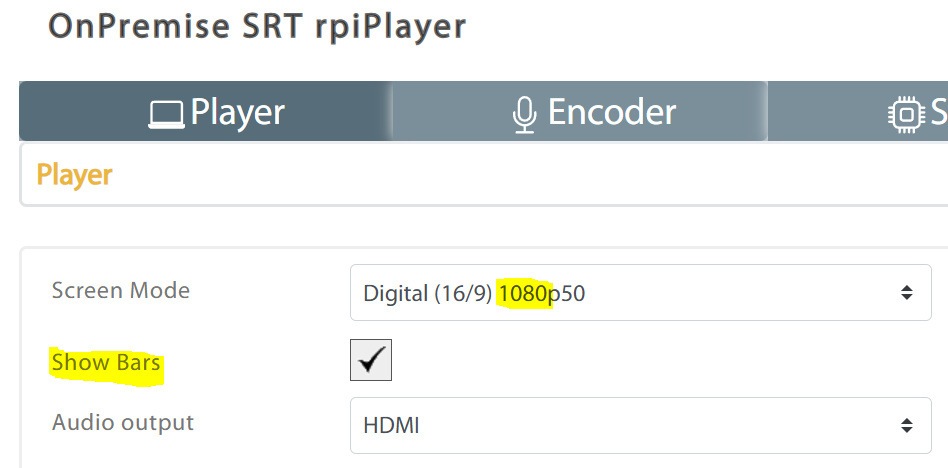
Customising the Colour Bars screen
From SRT Player Version 1.0.3 you can customise the default screen that displays when there is no stream being received.
On the Player Configuration page there is an option called ‘Show Bars’. This toggles between a black screen and the default colour bars. These images can be customised to what ever you would like to have as the default, ie a splash screen.
To edit these, mount the microSD card on your computer. You will see the ‘boot’ partition show up open this drive, then navigate to the ‘bars’ folder, which contains the following files:
- originalcolorbars480.png
- originalcolorbars576.png
- originalcolorbars720.png
- originalcolorbars1080.png
Depending on the output ‘Screen Mode’ you have set, you can simply edit the file needed, ie just the originalcolorbars1080.png file.
To do this I recommend renaming the original file(s), before you copy over your own incase there are compatibility issues
NOTE: As there is no official guide for the format of these files, it may be needed to open and edit an existing file with your own content.
Once completed, unmount the microSD card from your computer and replace it back into the RaspberryPi, your new image should be seen when it next boots up.
NOTE: It can only be a static image and not video at this time, and can only be changed by editing the microSD card directly. It would be great to see multiple options to at least select between a handful of different images, hopefully this feature comes soon.
Default Colour Bars:

Show Color Bars Option:
SRT Stream Active Output Indication
From version 1.0.4 onwards the Raspberry Pi GPIO pin 26 is now activated for stream playback.
This is a High (3.3v) when the stream is active, it could drive an LED through a suitable resistor or trigger some other device as needed.
NOTE: Follow normal Raspberry Pi GPIO requirements for current drive, etc… as required for your purpose.
Conclusion
This setup seems to work very reliably, I have personally tested with it running for over 4 hours without issues.
If you have any other ideas or other software to use as I may add it into this guide as well so we have some different options.